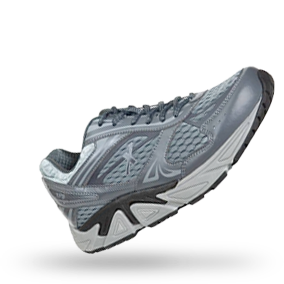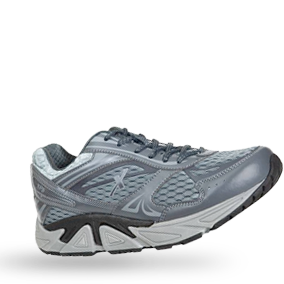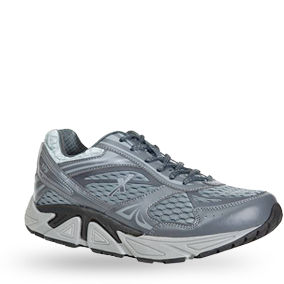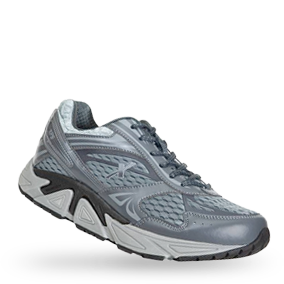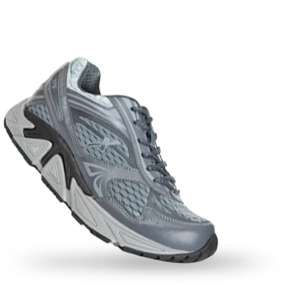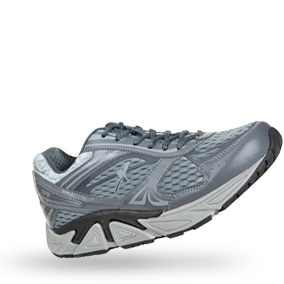
A supportive shoe can feel noticeably different from a soft, flexible sneaker the first time you wear it. That is often by design. A firmer heel counter, structured midsole, secure upper, and motion-control features are there to help guide your foot through the gait cycle, not simply cushion it. Learning how to break in supportive shoes means giving your feet and your footwear time to adapt without turning the process into a painful test.
The goal is not to force a shoe to become loose or lose its supportive structure. The goal is to let the upper, cushioning, and fit settle around your foot while your muscles and joints adjust to a more stable foundation.
Breaking in cannot fix a shoe that is the wrong size, width, or shape for your foot. Supportive shoes should feel secure from the start, especially through the heel and midfoot, but they should not create sharp pressure, toe crowding, numbness, or rubbing.
Check the fit later in the day, when feet tend to be slightly larger. You should have roughly a thumb’s width of room between your longest toe and the end of the shoe. Your heel should stay planted when you walk, and the widest part of your foot should align with the widest part of the shoe.
A supportive shoe may feel firmer than what you are used to. Firmness alone is not a sign of poor fit. Pain, pinching, tingling, or a foot that falls asleep are different matters. If those sensations happen immediately, do not assume you can break through them with more wear. Reassess the fit before continuing.
For the first few wears, use your new shoes indoors on clean, level surfaces. Wear the socks you expect to use for walking, work, or exercise. A medium-weight moisture-wicking sock is often a good choice because it can reduce friction without taking up so much space that it changes the fit.
Start with 30 to 60 minutes at home. Walk around, stand while doing routine tasks, and pay attention to where your feet feel pressure. If the shoes feel comfortable after that first session, wear them for a short errand or an easy walk the next day.
Increase your time in the shoes steadily over the next one to two weeks. For many people, adding an hour or two per wear works well. If you are transitioning from very soft shoes or have been dealing with foot, knee, hip, or lower-back discomfort, take a slower approach. Your body may need more time to adjust to improved alignment and a more controlled stride.
Avoid making a new pair your choice for a long shift, a travel day, a hiking trip, or a major workout. Even a well-fitted supportive shoe can cause avoidable soreness if it goes from the box to eight hours of continuous wear. Build up to your normal activity level instead.
It is normal to notice that supportive footwear changes how your feet contact the ground. You may feel more structure under the arch, greater heel stability, or a more deliberate forward motion as you walk. These sensations can be unfamiliar, particularly if your previous shoes were worn down or offered little control.
Mild muscle fatigue can also occur as your feet and lower legs adapt to a more stable position. This should improve as you gradually increase wear time. It should not become escalating pain.
Take the shoes off and let your feet recover if you feel hot spots, rubbing, numbness, blisters, sharp arch pain, or pain that changes your natural walking pattern. Continuing through pain can create a skin injury or make an existing condition worse. Support should help you move with more confidence, not force your body to compensate.
Many break-in problems are actually lacing problems. The right lacing approach can make a supportive shoe feel more secure without making it restrictive.
If your heel slips, try a heel-lock lacing technique using the extra eyelets near the top of the shoe. This helps hold the heel in place and can reduce friction at the back of the ankle. If you feel pressure on the top of your foot, loosen the laces across that area rather than loosening the entire shoe. A foot with a higher instep may need more space through the midfoot, while a narrower foot may need a more secure wrap.
Do not lace so tightly that your toes tingle or your forefoot feels compressed. Proper support comes from the shoe working with your foot, not from squeezing your foot into place.
It can be tempting to bend, twist, soak, heat, or aggressively stretch a new shoe to make it feel softer. Those methods are especially risky with supportive footwear. They can compromise the very elements that provide stability, including the heel counter, midsole geometry, and upper structure.
Instead, let normal wear do the work. Walking gradually allows the upper materials and cushioning to adapt to your foot while preserving the shoe’s intended motion-control benefits. If a small area of the upper feels tight but the overall fit is correct, a qualified footwear professional may be able to advise on a limited adjustment. Do not alter a shoe’s sole or support components at home.
If you use custom orthotics or prescribed inserts, make sure the shoe has enough depth and volume to accommodate them comfortably. Remove the existing removable insole only if your clinician or orthotics provider recommends it. Adding an insert to an already snug shoe can crowd the foot and create pressure rather than relief.
During the first week or two, rotate your new pair with a comfortable, reliable pair you already own. This gives your feet a break while still helping you adapt to the new support system. Alternating is particularly useful for people returning to regular activity after plantar heel pain, joint discomfort, injury recovery, or a long period of wearing unsupportive footwear.
Pay attention to how your body feels not only while wearing the shoes, but later that day and the following morning. A stable, well-fitted shoe should support comfortable movement over time. Temporary awareness of new support is one thing. Persistent soreness in the feet, ankles, knees, hips, or back is a sign to reduce wear time and evaluate the fit.
Some concerns should not be treated as normal adjustment. Stop wearing the shoes and seek fitting guidance if you develop blisters repeatedly in the same spot, experience persistent numbness, notice worsening pain, or cannot walk naturally in them after several short wears.
People with diabetes, neuropathy, circulation concerns, significant foot deformities, or active foot injuries should be especially cautious with any new shoe. Small pressure areas can become more serious when sensation or healing is reduced. A podiatrist or other qualified healthcare professional can help determine what type of footwear, insert, or modification is appropriate for your needs.
The right supportive shoe should feel like a dependable platform for your daily movement. Give it a gradual start, listen to the signals from your feet, and let comfort build alongside the stability that helps you keep moving.